Holographic foil card effect

Earlier this week I saw a really neat effect where @Sererena simulated the view-dependent shimmering of a foil card, fed by a smartphone accelerometer.  This seemed like a good challenge to improve my material creation skills in UE4, so I gave it a go yesterday and came up with something I’m reasonably happy with. The view angle is controlled by WASD rather than the accelerometer since I was more focused on the material.

Download

You can download the assets and test project (built with Unreal Engine 4.15), licensed as CC0.

Construction

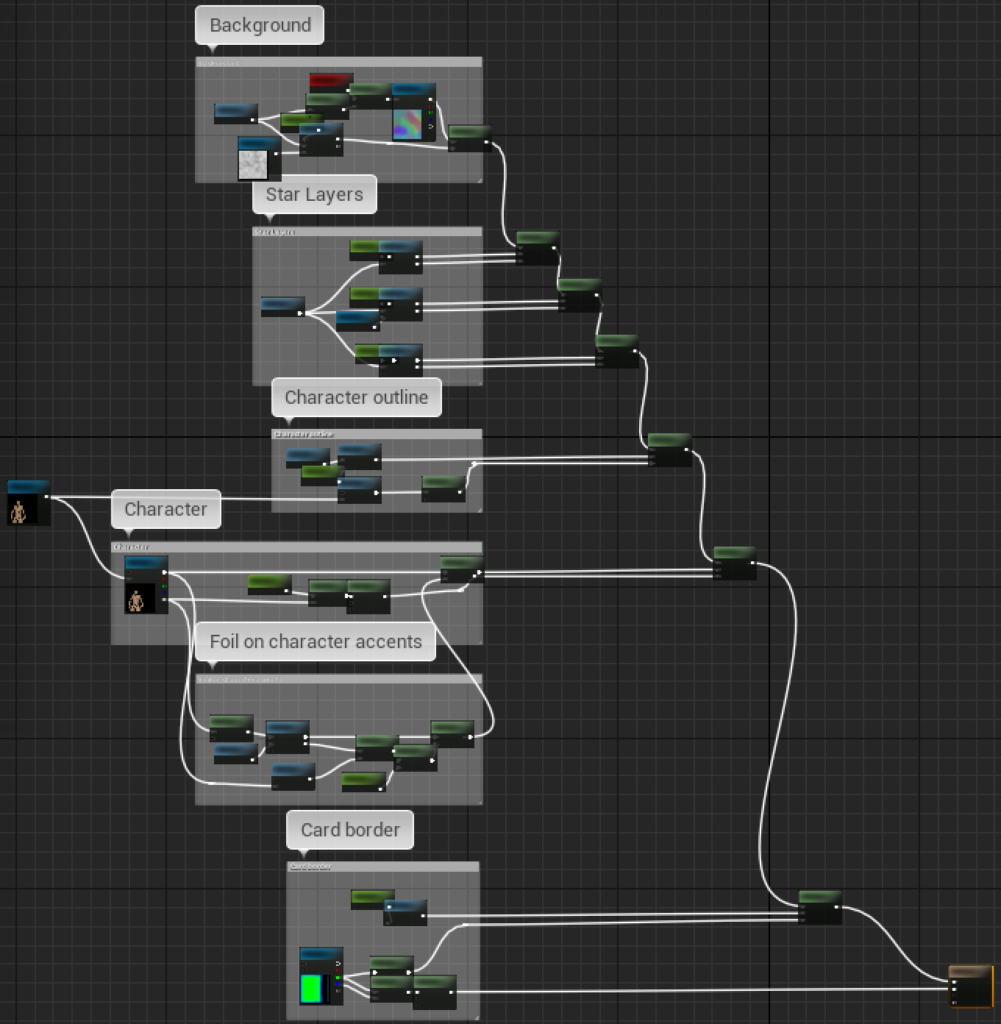
The material has 8 layers:

  • Background
  • Distant large stars
  • Small stars / motes
  • Near large stars
  • Character foil outline
  • Character
  • Foil on character accents
  • Card border
Outline of foil card material (M_FoilCard) showing the various layers

The foil character accent layer and the star layers all parallax as the view angle changes (shift around, with a larger shift for nearer layers, faking a sense of depth).

The foil layers (everything except the character) are colored by a lookup into a ‘holographic plate’ texture, using an ad hoc function of the tex coord, distance, and tilt amount.

The character accents layer is done with a color notch filter and one star layer, directly added to the character color (rather than lerping to it). This is the part I’m least happy with in the current implementation, but I’d need to test it with a real character to see exactly what I’d want to change.

The material is built using a bunch of material functions as building blocks to make it cleaner, but these aren’t meant to ‘stand alone’; there are lots of assumptions built into them about textures and parameter values.

I’m using a live capture of a 3D character instead of a 2D base, but after the capture Blueprint updates the render target, everything else is the same either way. The capture BP is an opaque box containing the character, a capture component, and a controlled light source.  Even with setting the capture component to only capture the self actor and setting an aggressive culling distance, some ‘global’ things like atmospheric fog still render into it, so I had to use the mode that gave me depth in alpha rather than an opacity mask in order to discard it.

The outline is done with a Sobel edge detection filter on the thresholded depth from the character render target (which has depth as alpha). Rather than using a kernel of the adjacent texels, it uses texels 8 away to increase the width of the outline. If I were using 2D characters I’d probably skip the runtime Sobel filter and do that offline once into a mask texture.

SharedJamUI plugin for UE4

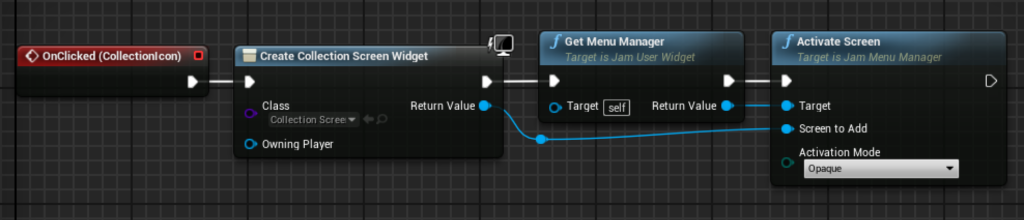
I’ve started a plugin that implements some useful base widgets and a simple menu manager to create game user interfaces in Unreal Engine 4. It’s sort of a spiritual successor to the SharedXNA library used in most of my XNA games.

It’s open source under the zlib license, mirrored to GitHub at https://github.com/joat/SharedJamUI. There’s a bit of usage information in README.md, but it’s pretty early and should be considered ‘jam quality’ code that hasn’t been really battle tested yet. Drop me a line if you end up using it and have some feedback.

Store all the things!

[From the archives: Built in April, 2012]

Initial thought process:

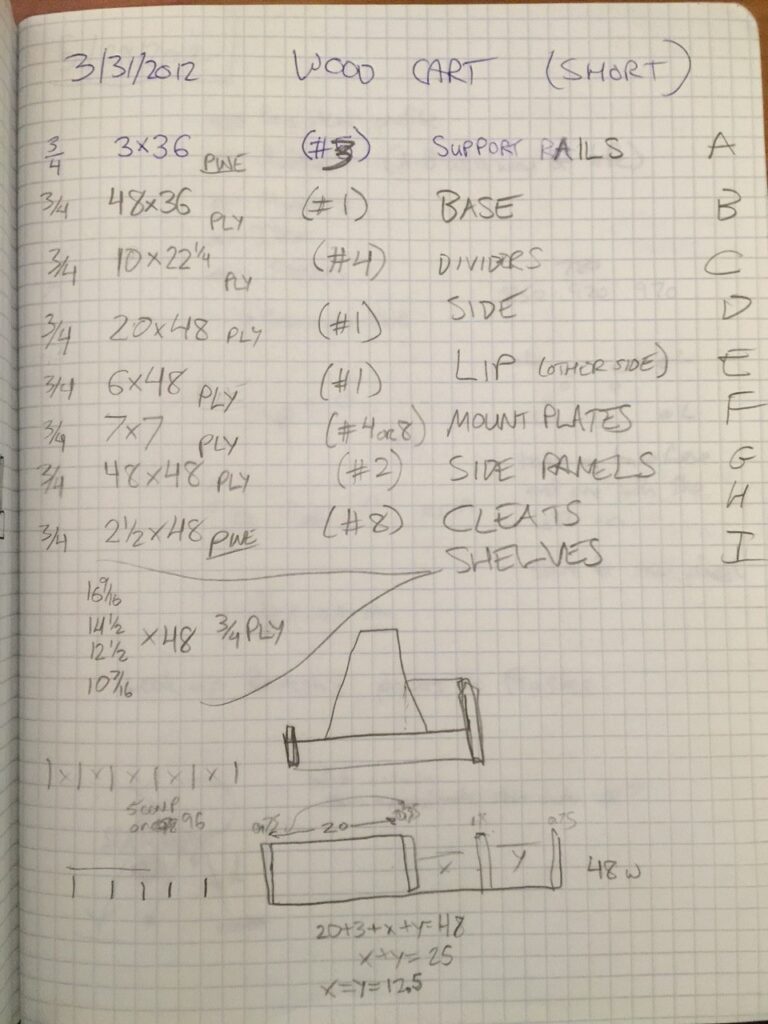
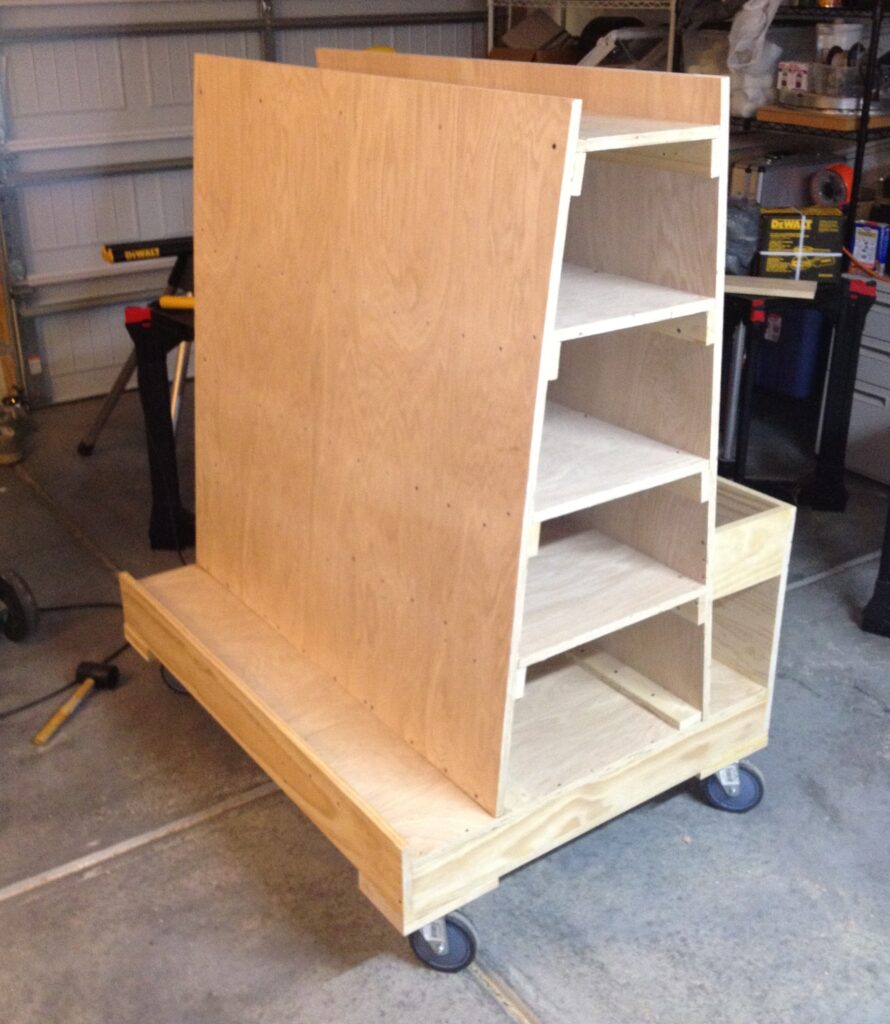
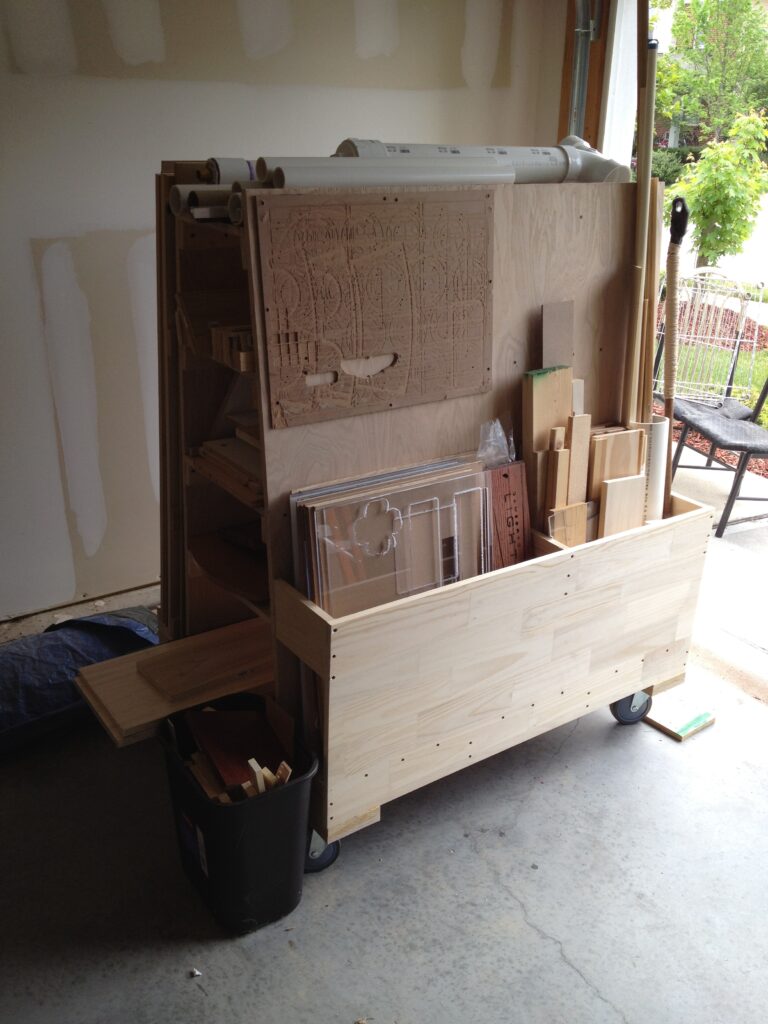
I did some searching for designs and found a picture of a wood storage cart that looked quite nice at ShopNotes. The actual plans for the cart aren’t online so I improvised based on the photo and cutting diagram.  I also adapted it to 6 feet as I have limited space in my garage and seldom work with anything larger than that.  My ‘schematics’ (really just math to see how much wood to buy) are below:

design sketch

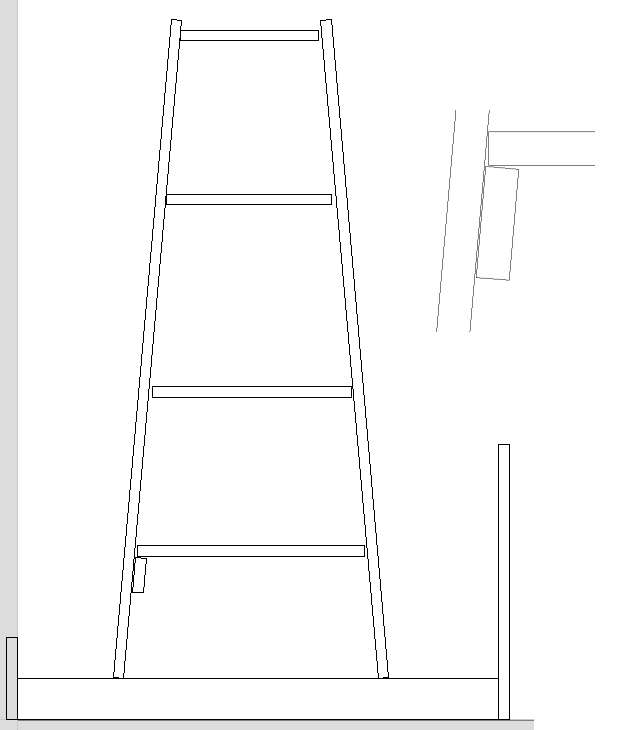
[Edit] Also found an underdocumented spreadsheet and a VCarve file I used to verify the measurements I came up with (though I ended up shifting the shelves down a bit so I’d have a 5th open-top compartment):

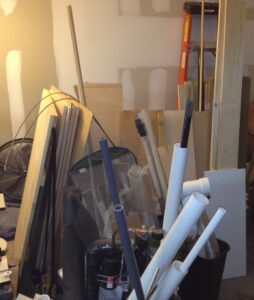
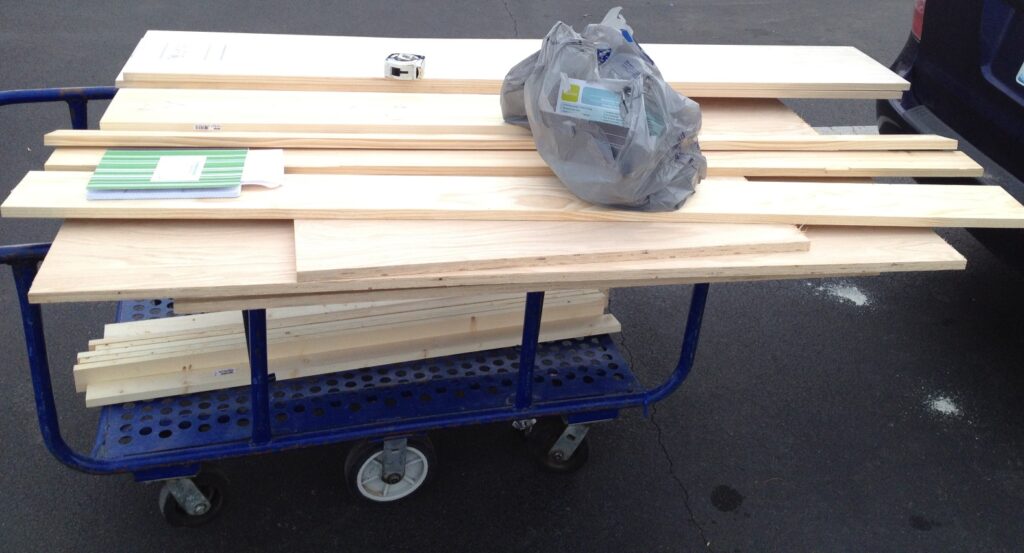
Time to go shopping:

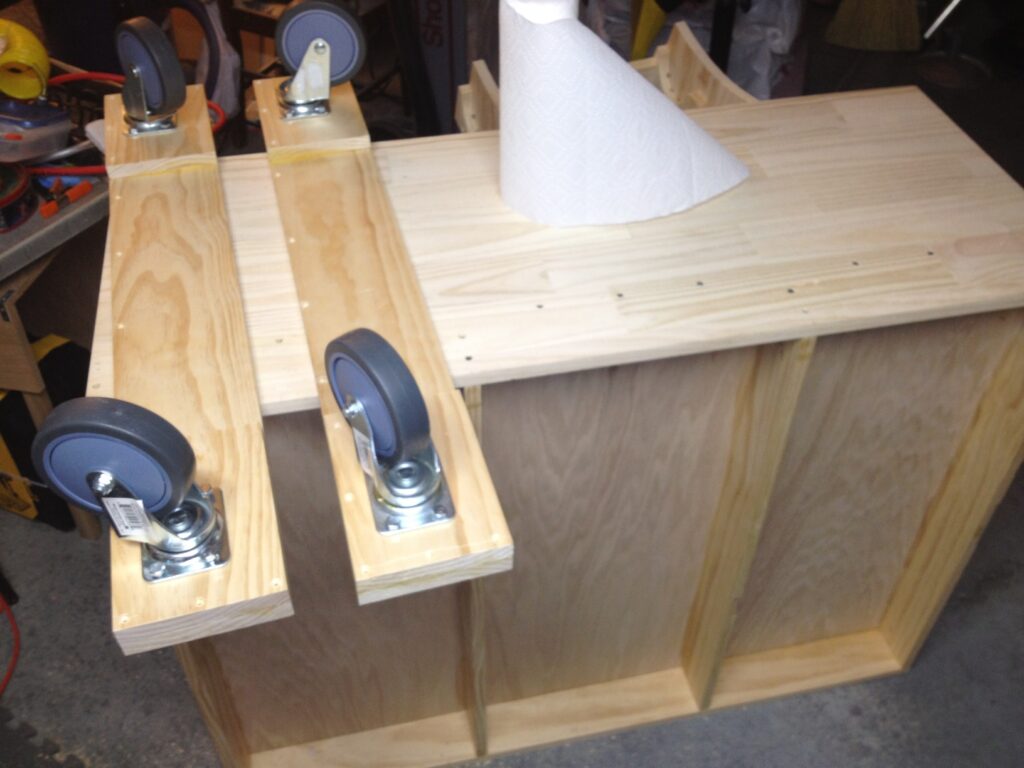
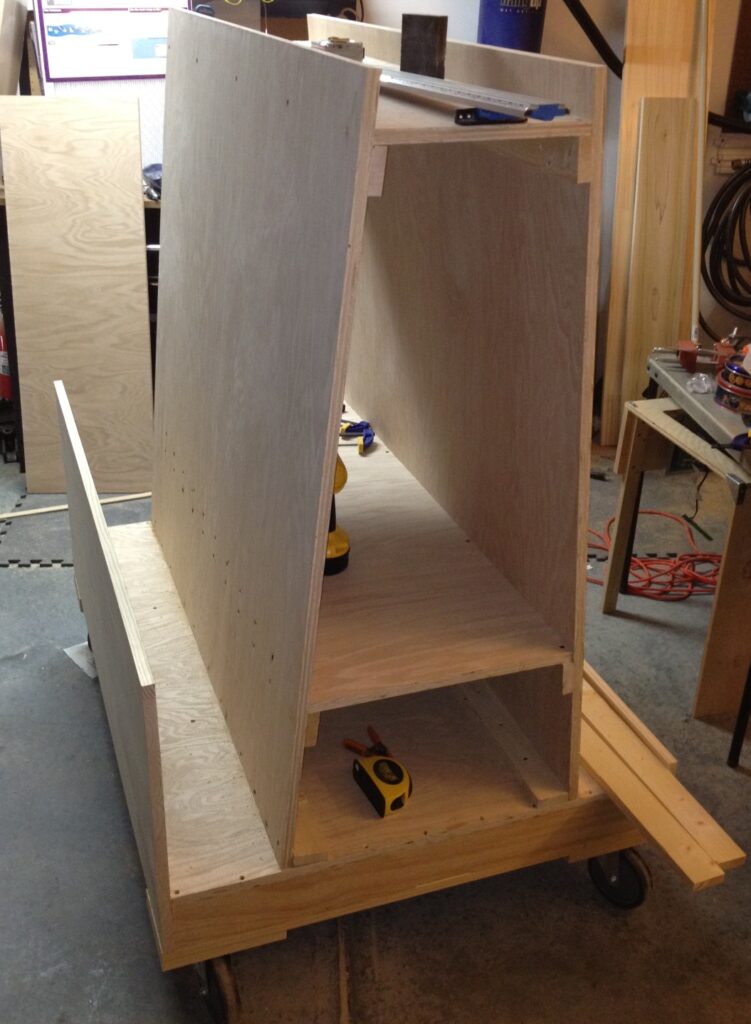
Some build shots:

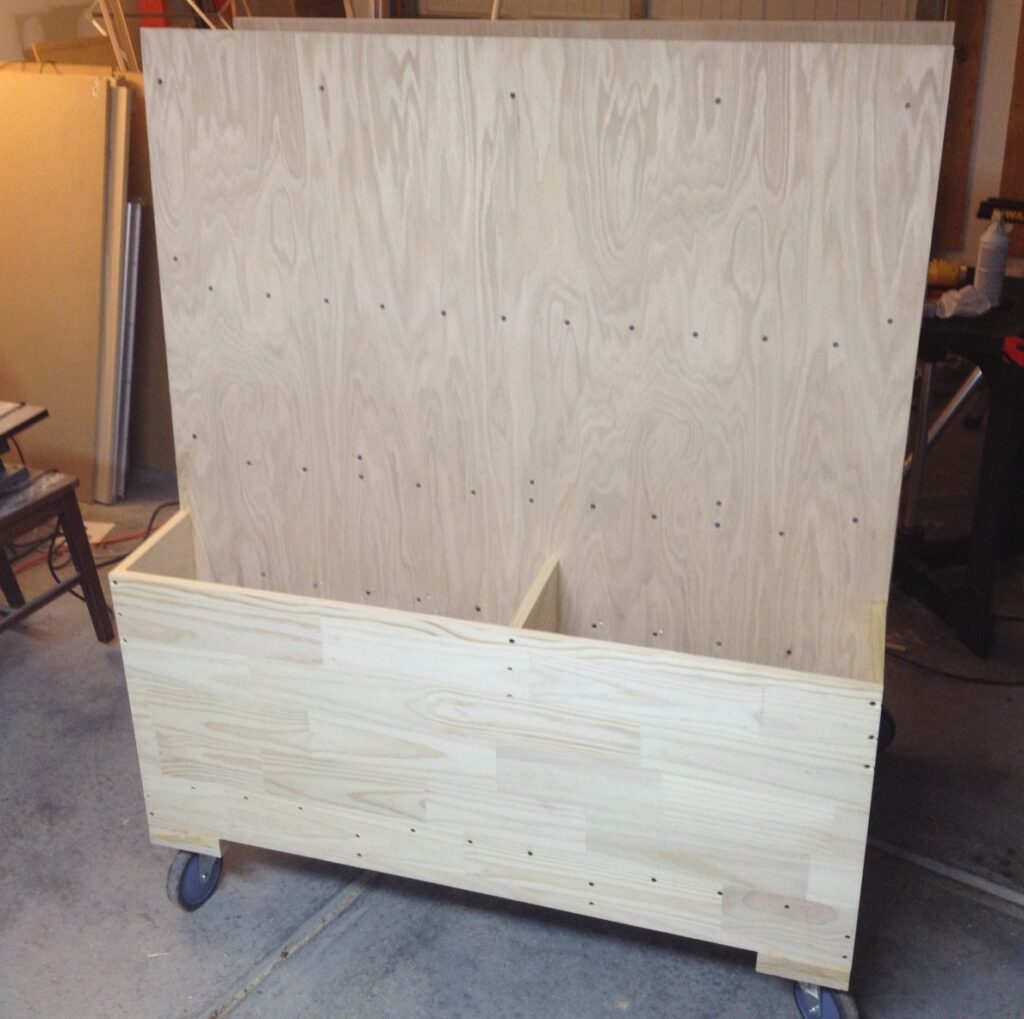
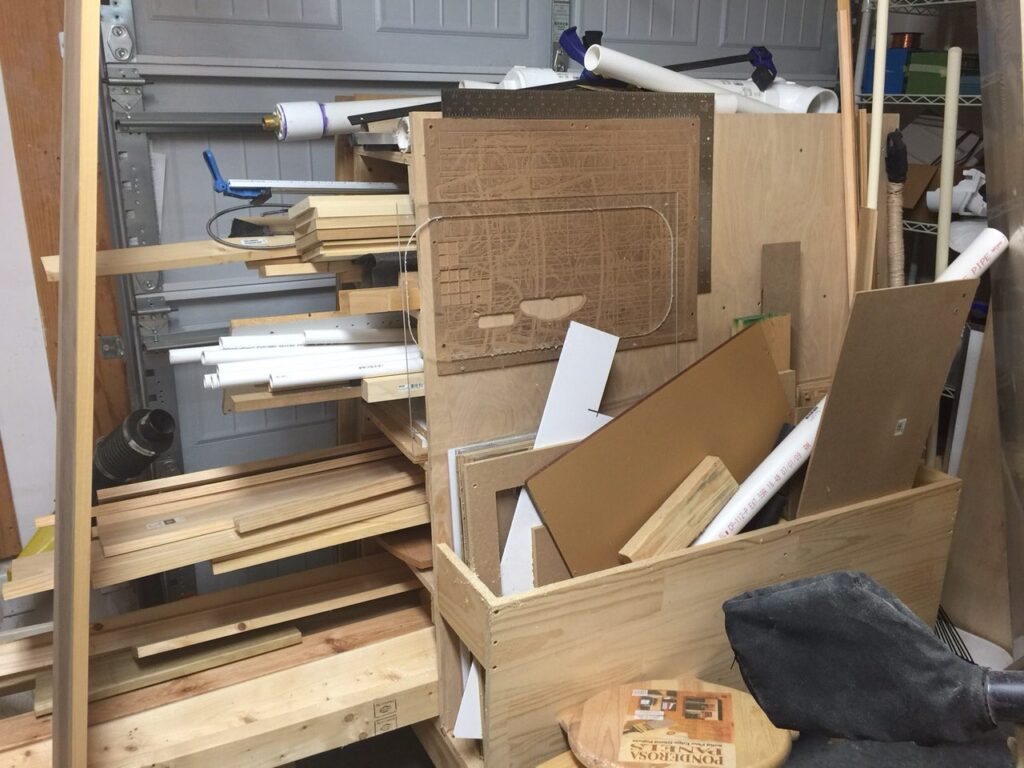
I probably went a little overboard with the screws and glue; the thing is built like a tank.  Finished shots:

All the things meme originally from Allie Brosh.

Iron Man 3 Chest Arc Reactor

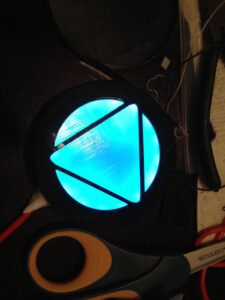
I made this prop to wear to the Iron Man 3 release (and to test out some new technology for a future project).

Arc Reactor

The whole thing was designed in OpenSCAD and 3D printed in ABS (both the housing and the diffusor puck).  A Teensy 2 module drives the LED strip (WS2812 clone, 60 pixels/m) and is is wired up to a BLE112 module for communications.

You can control it via Bluetooth (no app yet, you hand craft a 1, 3, 6, or 7 byte message in a BLE explorer app to set a greyscale color, or one/two RGB colors and a ping-pong speed).  By default it boots up into ‘Arc reactor blue’ with a soft breathing animation.

Prototype case design
Diffusor Test
Innards
Fully assembled
Glowy Victory
Thru T-Shirt
Iron Man Selfie

Multi-turret water cannon

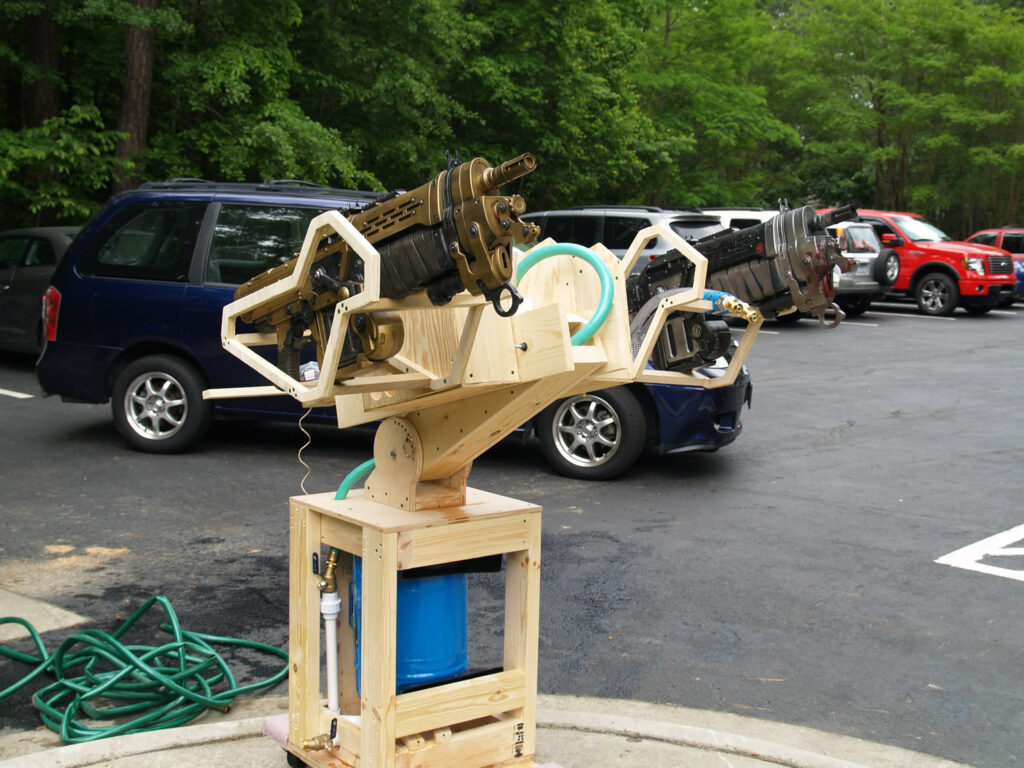
I’ve been holding off on posting about this until I got some time to finish it up, but now seems like a good time since it was mentioned in a community blog post.

Multiturret water cannon

I didn’t capture a proper video of it in action, but there are a couple snippets in this awesome picnic compilation video put together by Aaron:

The cannon uses a pre-pressurized water bladder, typically used to smooth out variations in water pressure for houses or RVs. The pressure of the output water will be roughly the same as the water supply used to charge the tank (and it can also be run in ‘continuous’ mode by leaving the hose connected). At the picnic site, the park water supply pressure was crazy high, which resulted in very nice performance. However, I saw about 90 psi on the pressure gauge at one point, which is uncomfortably close to the tank safety rating.

The drive electronics are just an Arduino that sequences four relays in turn controlling the sprinkler valve solenoids.

Christmas gifts: Candles

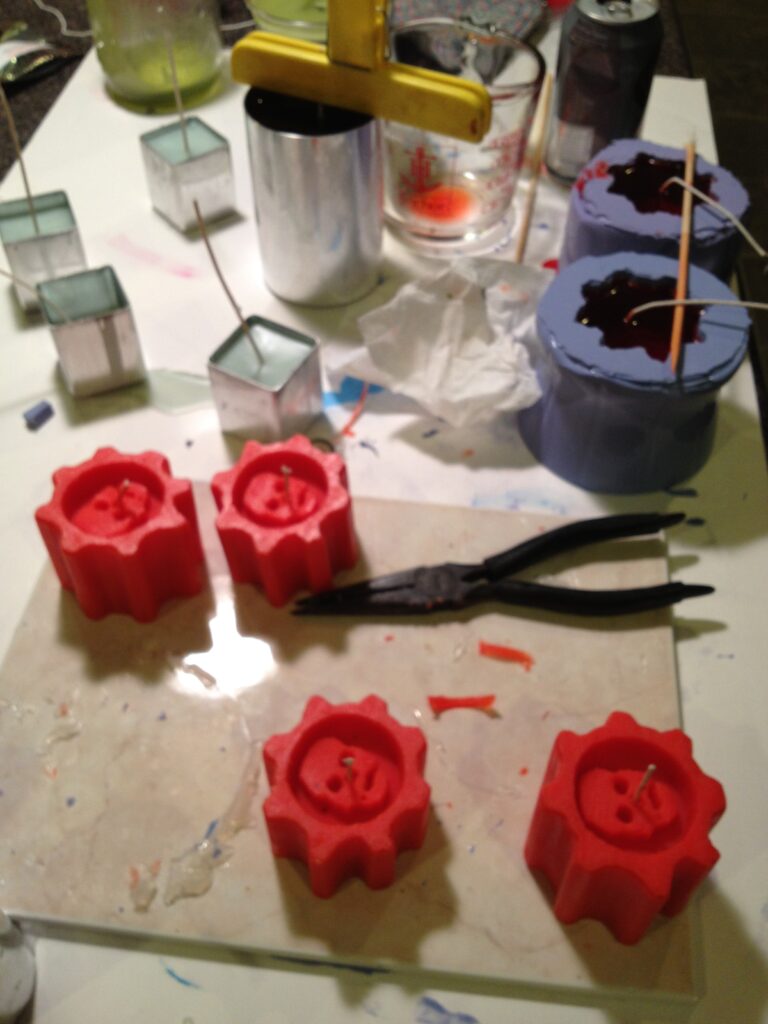
One of the things I made for Christmas gifts this year were candles. In addition to the typical cylinder and square candles, I made some candles in the form of the Gears omen and a lime.

Making candles with a homemade mold

For my first time making molds, and first time pouring candles, I’m really happy with how things came out.

I cast the first few batches using votive wax, which only takes one pour and gives a creamy consistency, but they lose their shape pretty fast when lit. After that, I switched to a pillar wax, which has a little more surface mottling and needs 2+ pours, but keeps it’s structure much better. Most of the candle supplies came from a site called CandleScience, which is actually in the area, so I can order online and pick up the order the next day without having to pay shipping.

I’d done a bit of reading about mold making in the past, but there was a class on molds and resin casting at The Gamer’s Armory that convinced me to order some supplies from Smooth-On. I used OOMOO 30 for both molds. The lime mold was made using a real lime skewered with a wooden stick, while the omen candles were made from a wooden positive modeled in VCarve Pro and cut on my CNC. It was made of 3 layers of 0.75 in plywood glued together and sprayed with some clearcoat. I cast two molds using sections of 2L soda bottles hot glued* to a floor tile.

Mold positives made on CNC
Positives before sanding and gluing
Mold positives glued into place
The perils of hot glue and PET
Finished molds
Hot wax
Making candles with a homemade mold

*A word to the wise: High-temp hot glue is hot enough to melt PET soda bottles! One of the two molds wasn’t sealed properly as a result and I had a decent sized leak of the purple ooze, but thankfully I had everything centered on a large piece of foamcore, so it didn’t ruin my countertop. Next time I’ll probably use clay as a seal.

Robotender Mk3

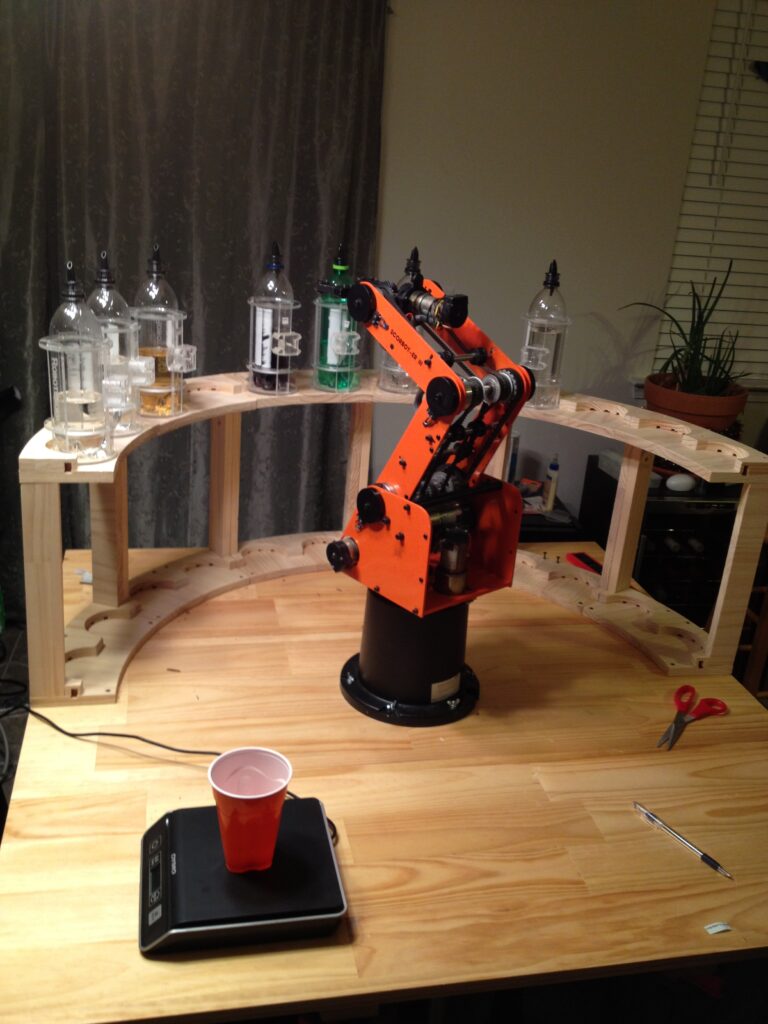
Finished Robotender Mk3 just in time for my halloween party (with literally minutes to spare). This one is a pretty radical departure from the previous designs, using a robotic arm instead of pressurized dispensing. I managed to pick up a Scorbot ER-III arm and controller off of eBay. They were originally used for teaching robotics and motion planning at universities, and are generally pretty used-and-abused (two motors were almost falling out of their mounts on this one), but it runs quite nicely after everything was cleaned and tightened up.

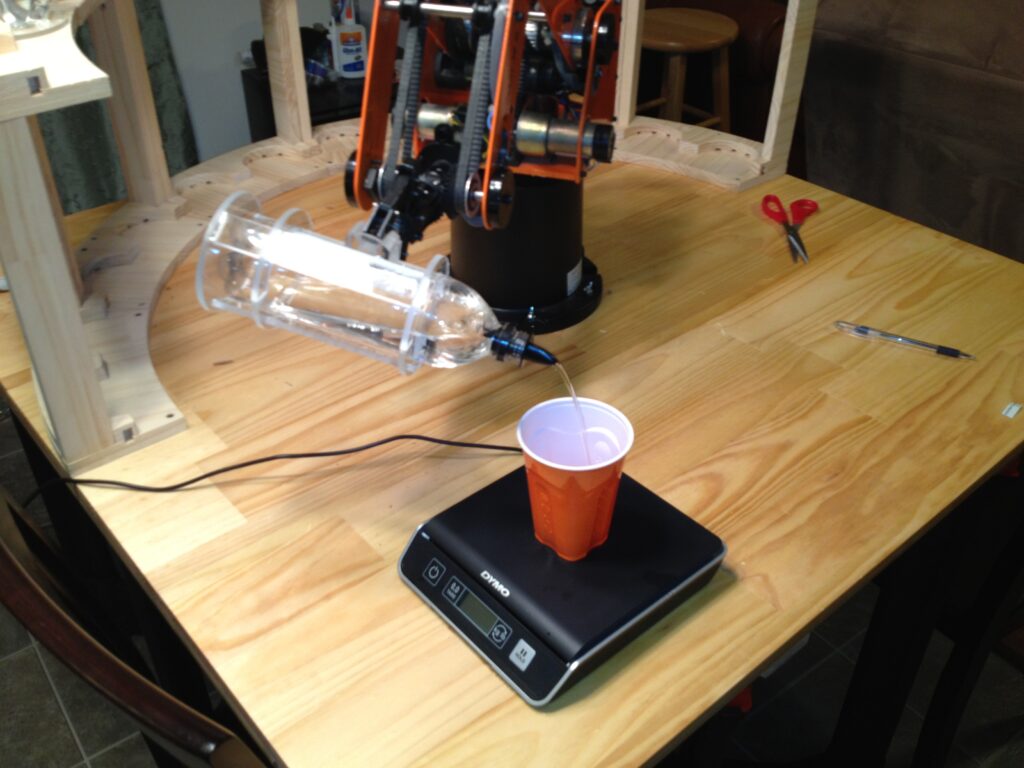
It’s a little slow compared to the Mk1, but it’s a lot of fun to watch, can hold more bottles, and is easier to maintain. It uses custom bottle carriers that hold 710 mL soda bottles, and can hold up to 24 such bottles. There is a digital scale hooked up to the computer as well, which gets zeroed once a bottle reaches the pour site, letting it determine how much liquid has been poured much more accurately than the simple time-based approach used in Mk1.

Pouring an ingredient

I took a number of pictures during construction on this one, so I may do a build log post later.

Next steps:

  • I’m going to look into building a new motor controller for it, so I can get better feedback and drive it faster while still keeping a solid grip on bottles (can’t currently ignore the gripper stall state for fear of missing any other motor stalls, meaning I have to do a slow 1/10th speed backout on the gripper to get the max grab force I can).
  • The bottle holders are on their 6th iteration already, but positive grip is still a bit of a problem, so I’m probably going to redesign the bottle holders with a triangular slot and make some triangular nylon plates for the gripper. This might also allow me to be a little less precise in the back-off, and speed it up without a new motor controller.

Nya nya nya nyan

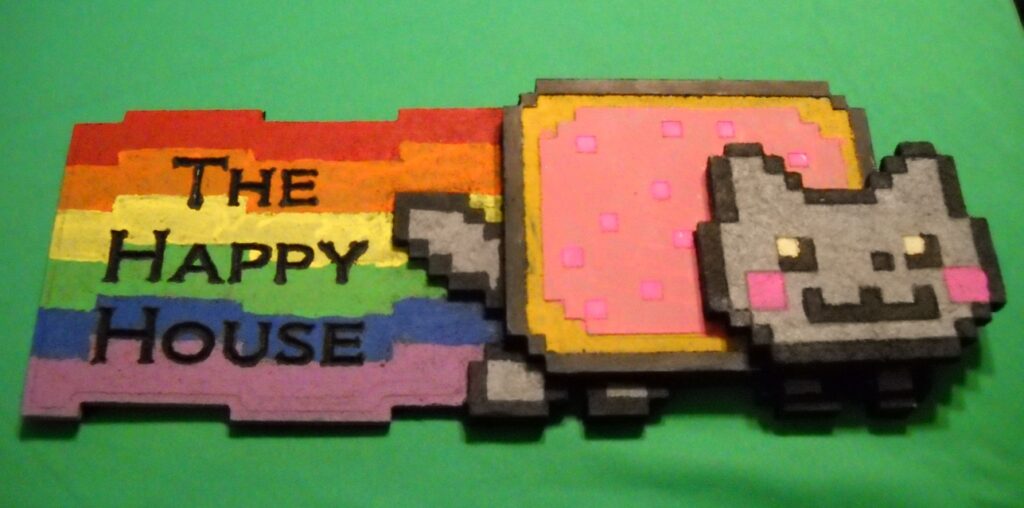
friend of mine recently got a house in Raleigh and dubbed it “The Happy House”. As a housewarming gift and as a test of my new CNC, I wanted to carve a plaque for the place.

I tried to think of something that brings irrational happiness to people and settled on Nyan Cat. It took a little bit of design work, resulting in a nice and fast CNC run, but painting it took longer than I expected. Even so, it turned out quite nice and everyone at the happy house loved it.